Written by Seth Carrier, NIWA Meteorologist/Forecaster
On this page:
Download a shorter version of this lesson in PowerPoint or as a PDF or continue below to see the lesson in full.
We can easily look out our window and see what the weather is like right now. But what if we need to know what the weather will be like in the future, say tomorrow or next week? Maybe your family are planning to have a picnic next weekend, but you won’t be able to have it outside if it’s going to rain. How can your family plan ahead? This is where meteorologists rely on lots of cool technology to predict the future.
Forecasting future weather starts by knowing what the weather is doing right now – everywhere in the world! Since we can’t be everywhere at once, we rely on weather observations that are recorded by weather stations all around the globe, usually at least once per hour, every hour, 365 days a year.
Even right here in New Zealand we have hundreds of weather stations taking weather observations every day. As you can see in the pictures below, some of these stations are in pretty amazing locations!
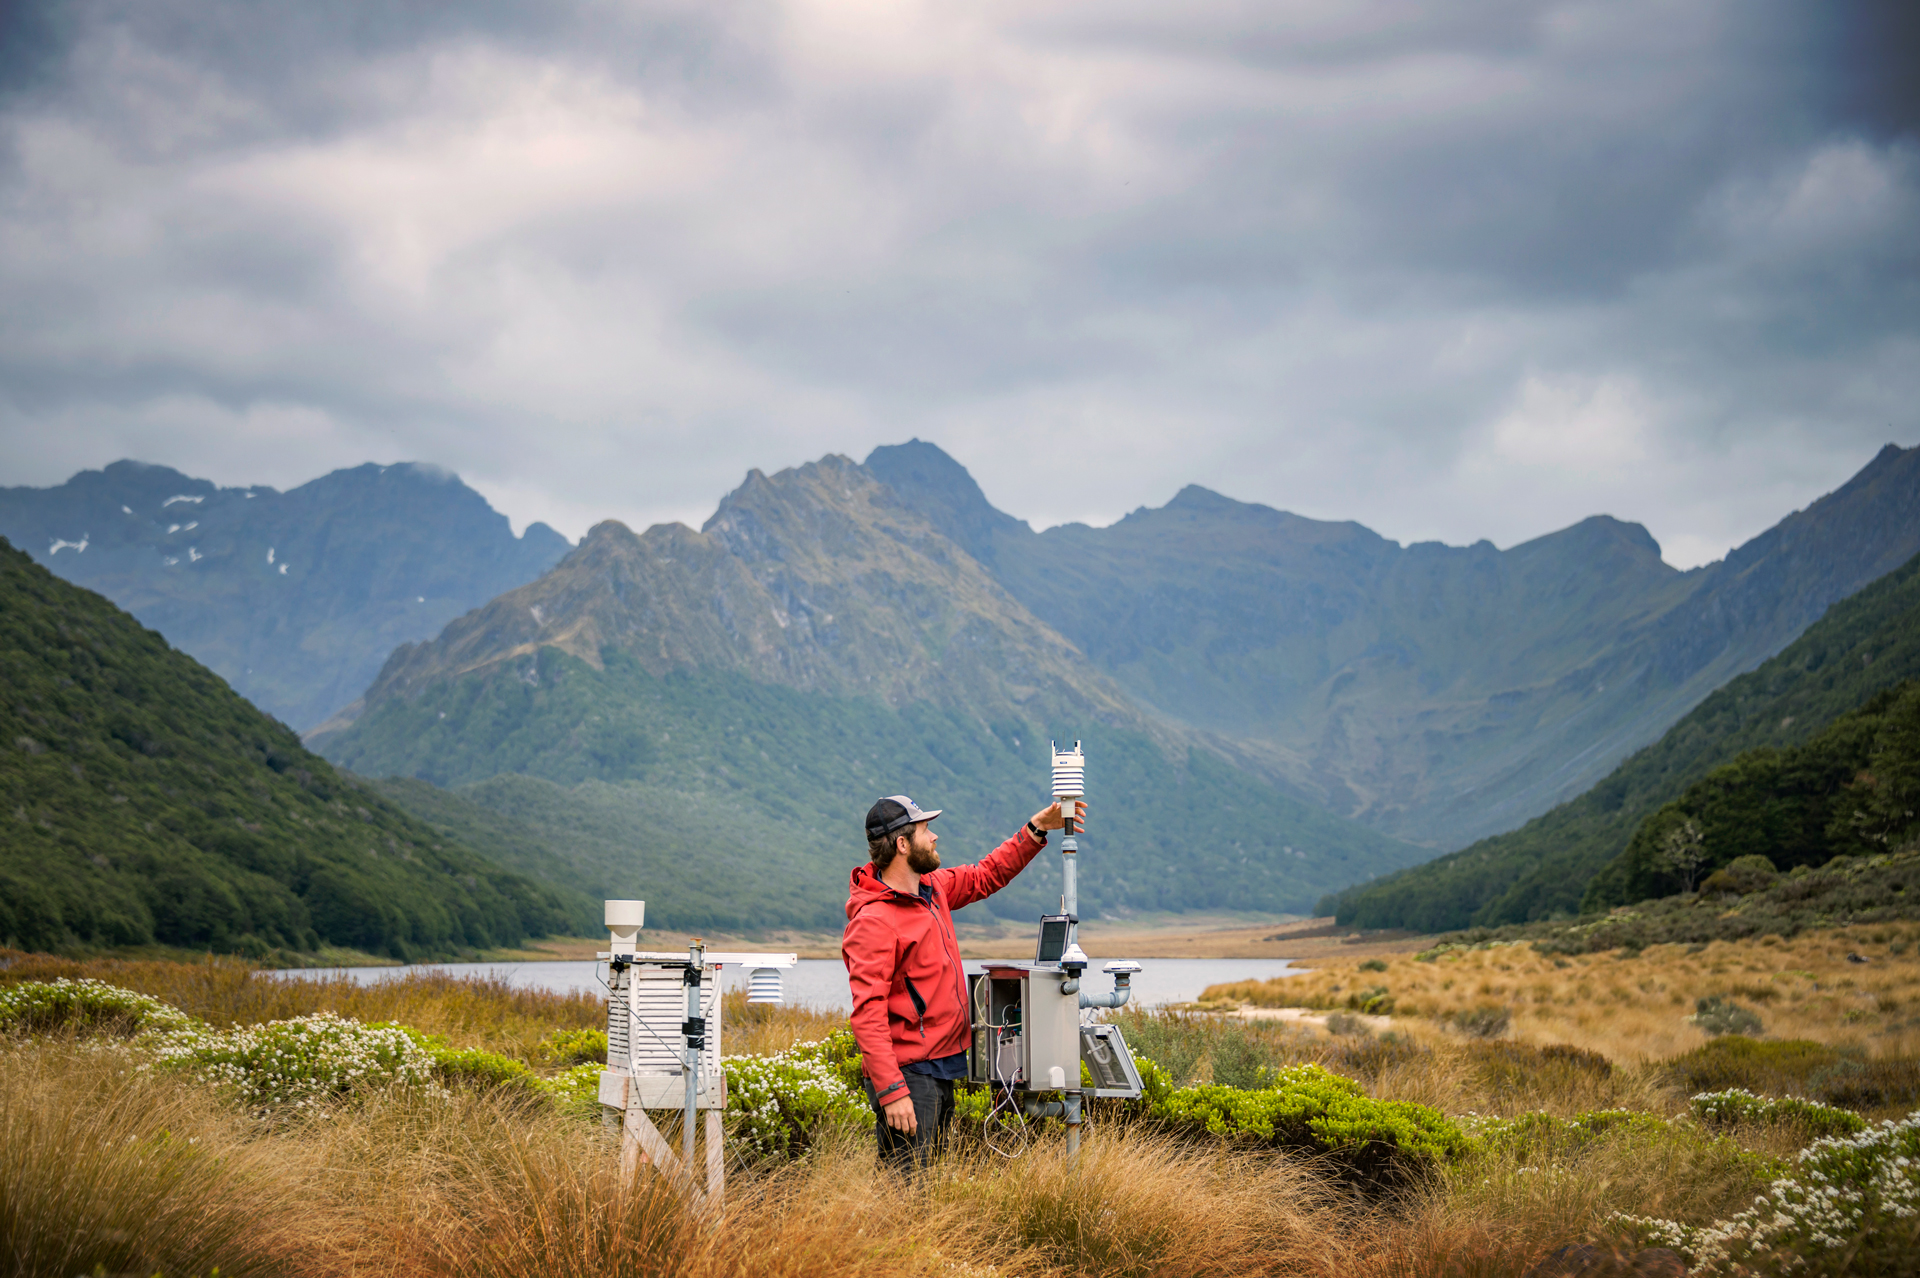
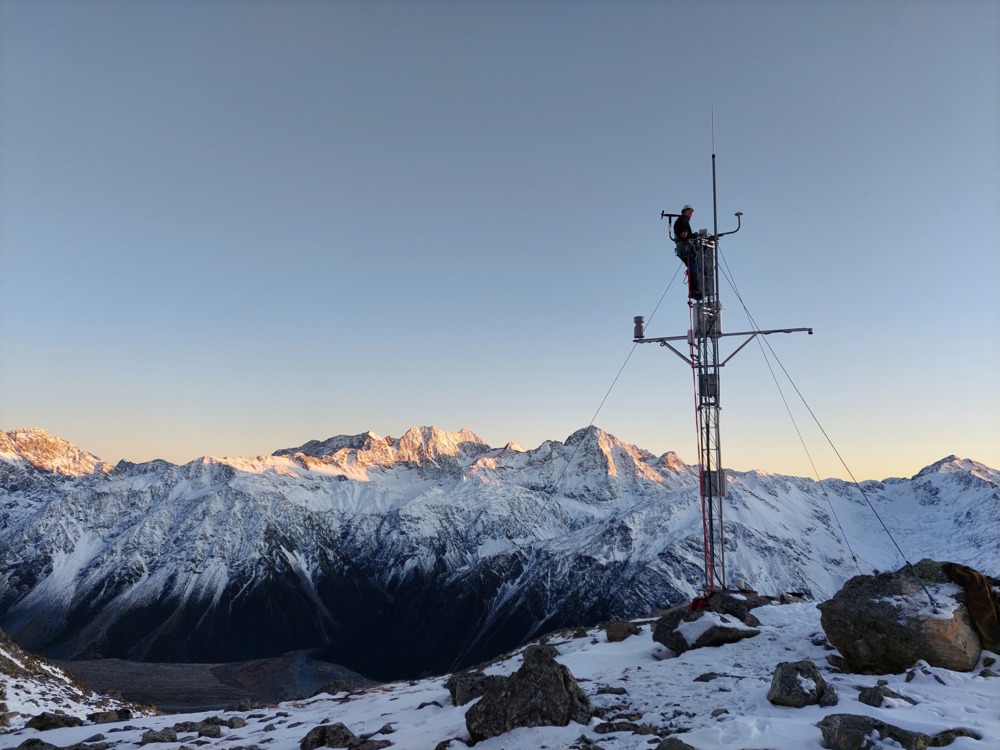
Weather stations
Let’s take a quick look at some of the most important tools attached to these weather stations.
Thermometer
This tells us what the temperature is throughout the day.
Anemometer
This instrument usually sits on top of a giant pole about 10 metres above the ground and records the wind speed.
Rain gauge
This one’s pretty easy – it tells us how much rain has fallen today.
Barometer
Remember learning about high and low pressure? Well a barometer can actually “feel” how much pressure is in the atmosphere and how quickly it’s going up or down.
Other weather tools
Here are a few other important tools not found on weather stations that provide meteorologists with vital data:
Doppler radar
This looks a bit like a giant satellite dish and sends out pulses of energy that bounce off rain droplets and return to the radar site. This lets us see where rain is falling, even if it’s hundreds of kilometres away from us.
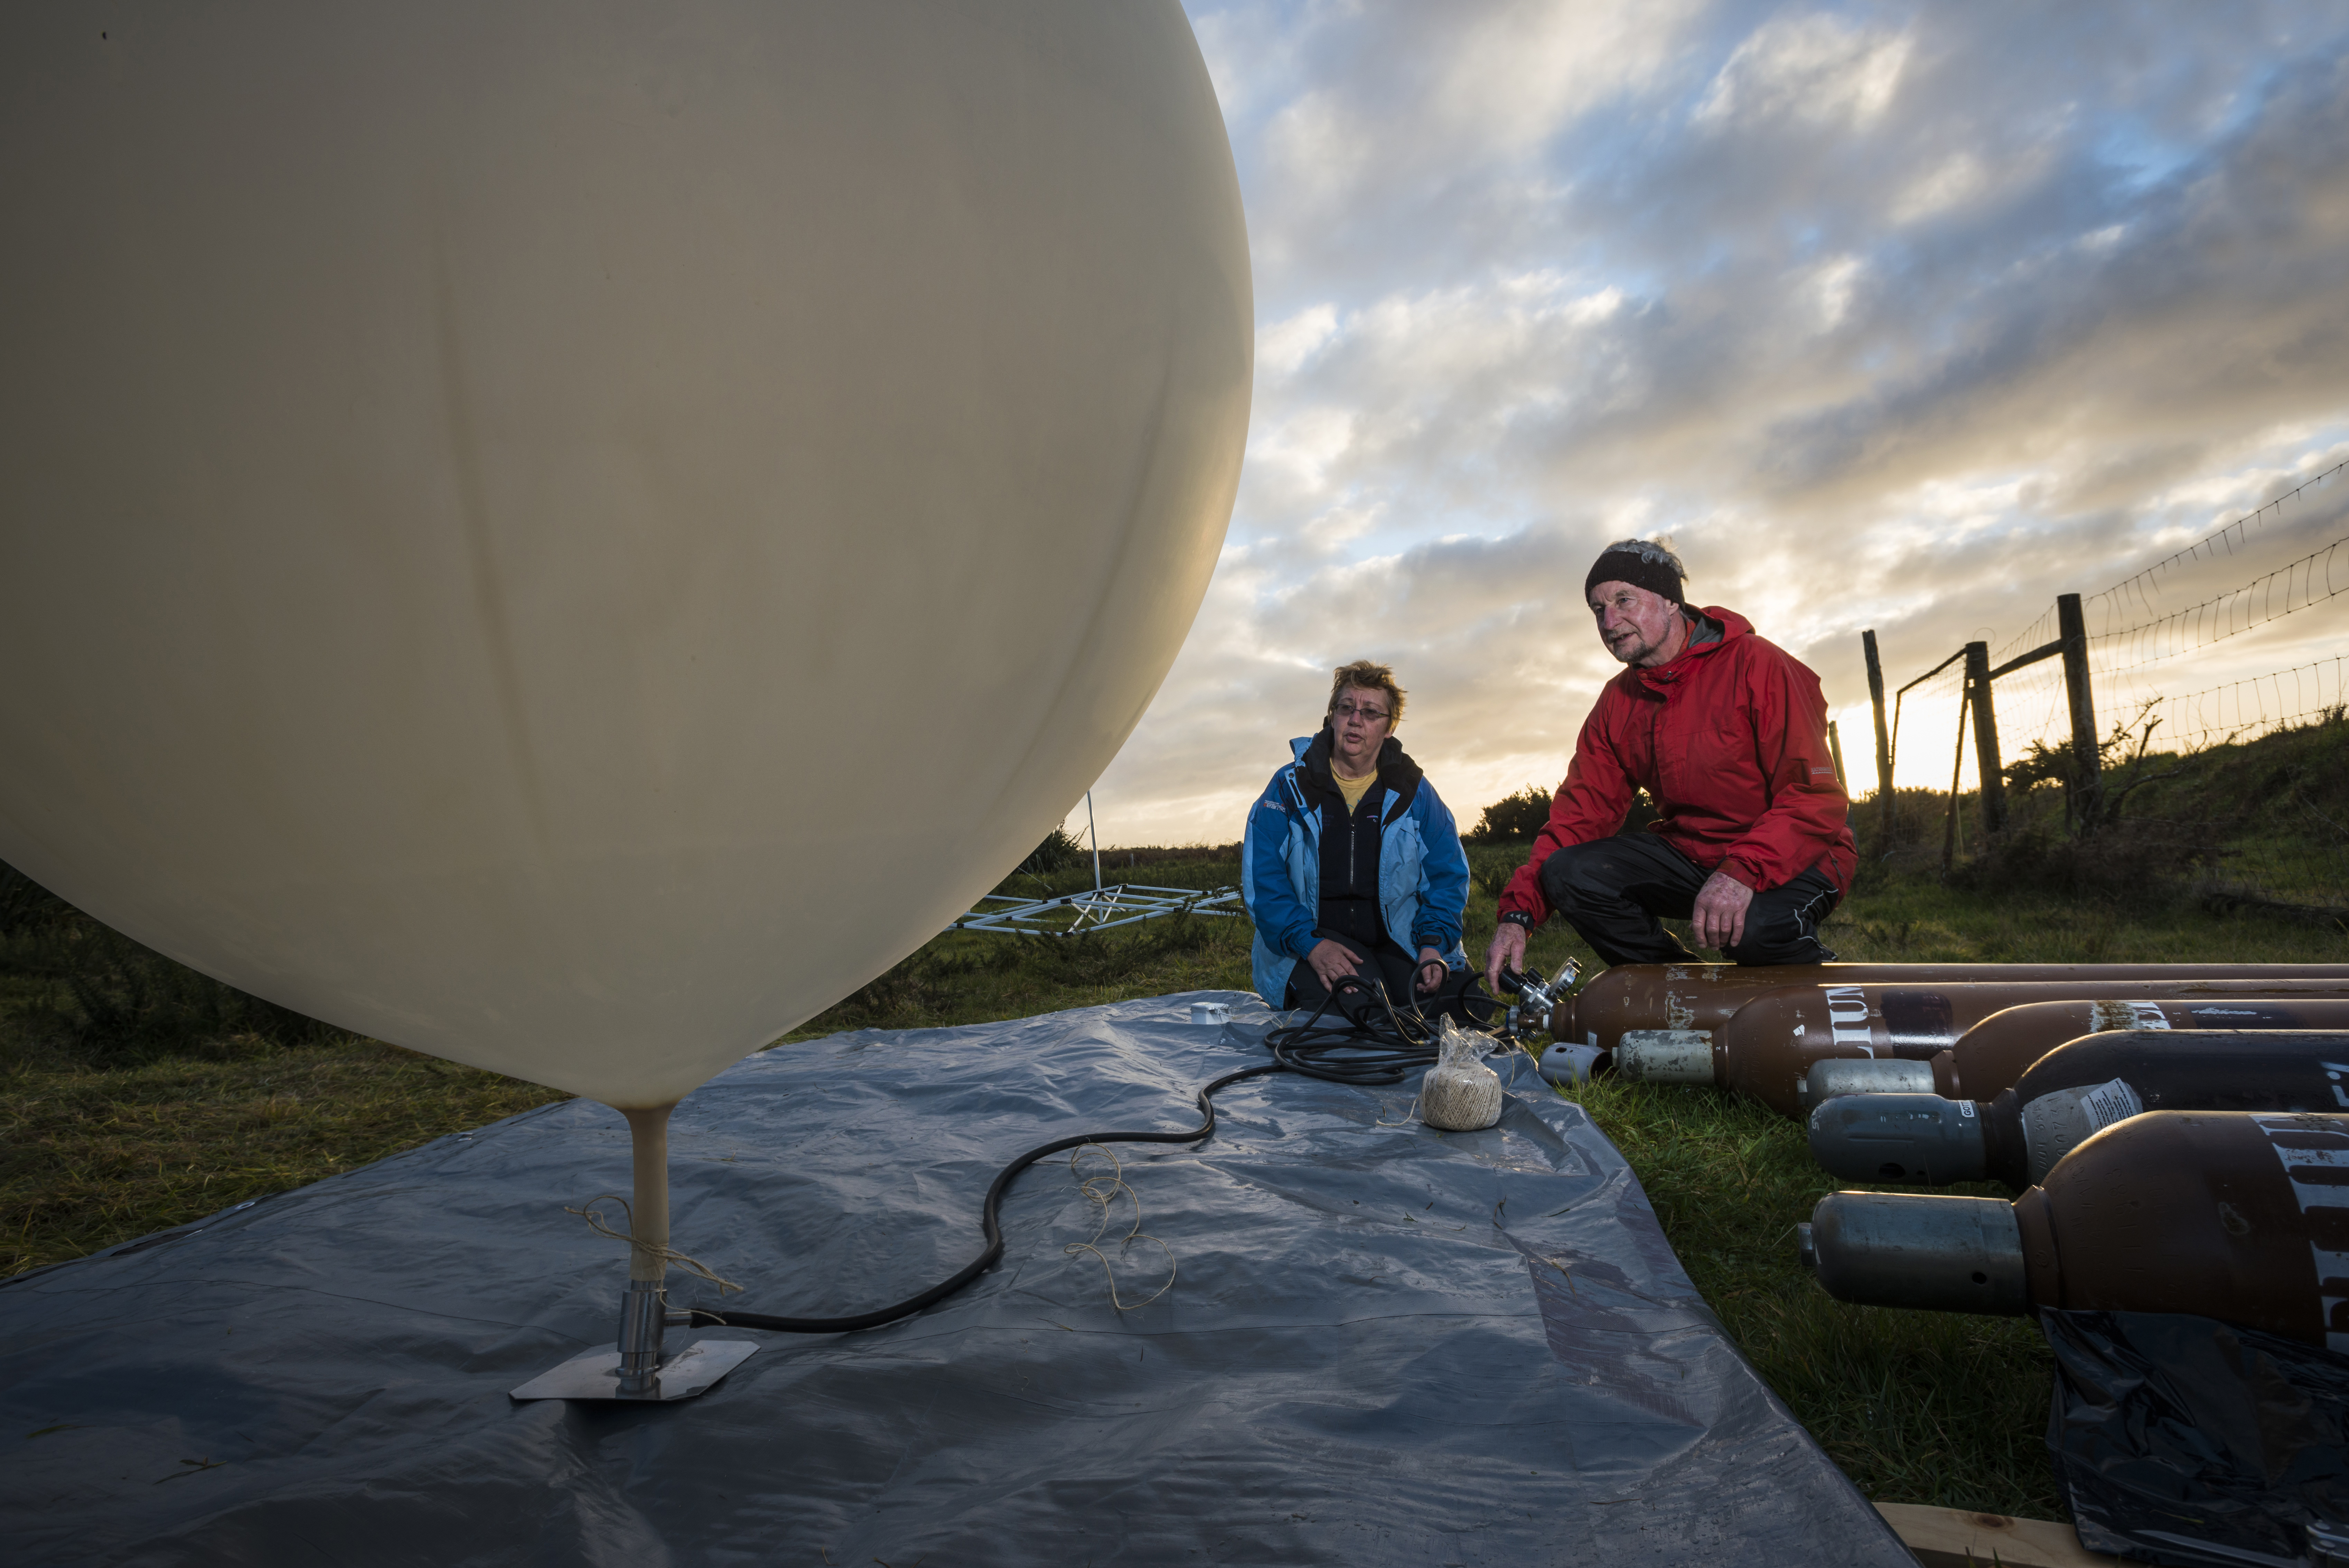
Weather balloon
It is also important to know what’s happening high in the atmosphere. Weather balloons are released from the ground and can fly higher than airplanes.
They have small instruments attached to them that record things like temperature, wind speed, and wind direction as they climb.
This data is sent back to the ground using a simple radio.
Watch this video to understand more about weather balloons
Weather satellite
Meteorologists use satellites in outer space to see things like cloud formations and tropical cyclones that might be located far from land. Some satellites are so high up that they can see almost half of the earth all at once.
Buoys
Ocean buoys provide similar information to weather stations, like temperature and wind speed, but also useful information like the temperature of the ocean water.
Airplanes
That’s right—almost every airplane records weather information as it flies, and some of this data is used to help us make better weather forecasts.
Supercomputers and human meteorologists
We’ve collected all this weather data from around the world – now what happens?
With so much data being collected every day, it’s impossible for humans to analyse it all and make a forecast within a reasonable amount of time. So the data goes into powerful supercomputers that speed up the process. These supercomputers are as big as an entire room, and more powerful than 10,000 desktop computers.
The supercomputers run all the data through incredibly complex math equations that determine how the earth’s atmosphere moves, and after a few hours of calculations we get the supercomputer’s best guess about what the weather will be like over the next several days.
However, at this point human meteorologists step in. While the forecast produced by the supercomputer is usually pretty good, the meteorologist has years of experience studying and forecasting the weather and can make the forecast even better.
The meteorologist will turn the weather forecast data into the colourful graphics and moving maps that you see on television or the internet.
One question meteorologists get asked a lot is, “How accurate is a weather forecast?” Forecasts are getting better and better as computing power improves. 50 or 60 years ago, it was impressive just to be able to forecast the next day’s weather accurately, never mind several days into the future. Nowadays, forecasts three to five days in the future are usually very accurate, and forecasts seven days out can still give a general idea of what’s to come. After seven days, the accuracy of the forecast usually decreases quite a bit.
Video – Can animals predict the weather?
Experiment – make your own rain gauge
This activity comes from https://nz.education.com/science-fair/article/DIY-rain-gauge/
What you’ll need:
- Empty, two-litre plastic bottle
- Scissors
- A few handfuls of clean pebbles, gravel or marbles
- Masking tape
- Water
- Ruler
- Permanent marker
- Rainy weather
- Paper and pencil
Instructions:
- Carefully use the scissors to cut the top of the bottle off at the wide part just below where it begins to get narrow.
- Put the pebbles in the bottom of the bottle—these will help keep it from getting blown over if it’s windy.
- Turn the top of the bottle upside down—make sure there’s no cap on it! It’s going to act like a funnel—and place it in the bottom part of the bottle, pointing downward. Line up the cut edges and tape them together so the top part is held firmly in place.
- Use a long piece of tape to make a straight vertical line from the top edge of the bottle to the bottom. Use the marker to draw a line on the vertical piece of tape just a little above the top of the pebbles. This will be the bottom of your rain gauge.
- Set the ruler against the vertical tape so that the “0” line lines up with the bottom mark. Use the marker to mark every centimetre along the piece of tape. Then label the centimetres from the bottom to the top.
- Set the bottle on a level surface and pour some water in until it reaches the bottom mark. Your rain gauge is now ready to go!
- Put the rain gauge outdoors—you’ll need to pick a really good spot! You want somewhere level that’s open to the sky and not likely to get too windy, where the gauge isn’t likely to be disturbed. There shouldn’t be anything hanging over the gauge that could either block any rain or make extra raindrops drip into the bottle (like a tree or a power line or the edge of a roof).
- Pay attention to the forecast. On a day that you’re likely to get rain, make sure the water in the bottom hasn’t evaporated below your bottom mark; if it has, refill it to that mark.
- If it rains within 24 hours, check your gauge and see how high the water is now. That’s how much rain has fallen in the last day! On your piece of paper, make a note of the date and the amount of rain. Then read the newspaper or go online and find out the official amount of rainfall in your area for the day and make a note of it—see how closely your figure matches the official one!
- Repeat steps 7-9 for several rainy days.
Quiz – weather forecasting
Check out our weather forecasting quiz. The quiz works best on Kahoot, but if you prefer a text version, you can download it as a PDF.